

- Script initialization — adding Videowise scripts to your website
- Widget locations — setting where you want widgets to appear
window.videowiseInfo, and how to handle add-to-cart on headless or custom storefronts.
Use
window.videowiseInfo on all non-Shopify platforms (SFCC, Magento, WooCommerce) and on headless Shopify.Setting up videowiseInfo
Minimum implementation
To add scripts to your website, insert the following code before the closing</head> tag:
Populating videowiseInfo correctly
Full structure for window.videowiseInfo
Handling add to cart
In most headless setups, add-to-cart is handled by custom logic — not only adding the item, but also opening a cart drawer, showing notifications, or updating UI. Because of this variability, Videowise does not perform the add-to-cart action directly. Instead, Videowise emits custom browser events that your application can listen for and handle with your own logic. To enable this, set Buy button behaviour to Virtual cart in: Widget → Player design → Buy button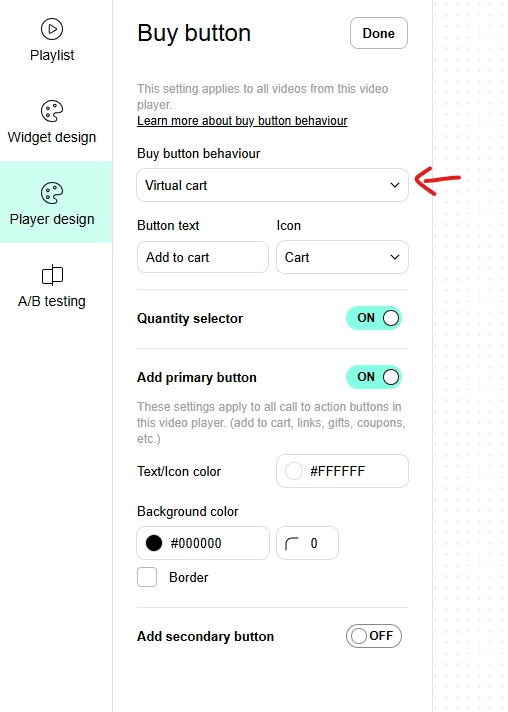
Custom event: videowiseProductAddToCart
When a user clicks Add to Cart inside the Videowise widget, a videowiseProductAddToCart event is dispatched. Product details are available on event.detail:
variantId— the Shopify variant IDqty— the selected quantity
videowiseTriggerPlayerClose:
Hydrogen-specific notes
- Before rendering, set
pidonwindow.videowiseInfoto the product ID. - When navigating away from a product page, set
pidtonull.