# Live Shopping
Source: https://docs.videowise.com/custom-events-ls
The Videowise Live Shopping now supports interception and tracking of custom events. This provides customers with a more comprehensive view of user interactions with video content
To intercept and handle these custom events, customers can utilize the `window.addEventListener` method. Below is an example of how to listen for these events:
```javascript Code Block Example
window.addEventListener("videowiseLiveOnInteraction", (event) => {
console.log(event.detail.interactionType); // for example mute_player
console.log(event.detail); // return Data from event
});
```
## Events
### videowiseLiveOnPlay
Triggered when the live stream is playing.
* `clientTS`
* `currentTime`
* `device`
* `eventType`
* `interactionType = resume_player`
* `isLive`
* `lsId`
* `organisationId`
* `siteId`
* `uid`
* `url`
* `videoElapsedMinutes`
* `videoElapsedSeconds`
### videowiseLiveOnStop
Triggered when the live stream is closed.
* `clientTS`
* `currentTime`
* `device`
* `eventType`
* `interactionType = close_player`
* `isLive`
* `lsId`
* `organisationId`
* `siteId`
* `uid`
* `url`
* `videoElapsedMinutes`
* `videoElapsedSeconds`
### videowiseLiveOnInteraction
Triggered when a user executes a specific interaction during the live stream.
* `clientTS`
* `currentTime`
* `device`
* `eventType`
* `interactionType`
* `isLive`
* `lsId`
* `organisationId`
* `siteId`
* `uid`
* `url`
* `videoElapsedMinutes`
* `videoElapsedSeconds`
The interactonType can be:
* `mute_player`
* `unmute_player`
* `pause_player`
* `resume_player`
* `like_reaction`
* `share`
* `add_to_calendar`
* `send_chat`
* `minimize_player`
* `maximize_player`
* `show_product_list`
* `hide_product_list`
* `product_click`
* `add_to_cart`
* `checkout`
* `show_cart`
* `hide_cart`
* `replay`
* `progress`
If `interactionType = share` then the event will contain in addition:
* `socialShare`
If `interactionType = product_click | add_to_cart` then the event will contain in addition:
* `item` (which is data about product from the live stream)
# Widgets
Source: https://docs.videowise.com/custom-events-widget
The Videowise Widget now supports interception and tracking of custom events. This provides customers with a more comprehensive view of user interactions with video content
To intercept and handle these custom events, customers can utilize the `window.addEventListener` method. Below is an example of how to listen for these events:
```javascript Code Block Example
window.addEventListener("videowiseVideoClick", (event) => {
// Your code here
});
```
```javascript Code Block Example
window.addEventListener("videowiseVideoClick", (event) => {
console.log("videowiseVideoClick executed");
console.log(event.detail); // return Data from event
});
```
## Events
### videowiseProductAddToCart
Triggered when a user adds a product to the cart.
* productName
* productId
* variantId
* qty
* price
* currencyCode
* videoTitle
* videoId
* widgetId
* deviceType
* url
### videowiseVideoClick
Triggered when a user clicks on a video.
* videoTitle
* videoId
* widgetId
* deviceType
* url
### videowiseVideoStart
Triggered when a video played more than 3 seconds.
* videoTitle
* videoId
* widgetId
* deviceType
* url
### videowiseVideoFull
Triggered when played more than 80% of the video.
* videoTitle
* videoId
* widgetId
* deviceType
* url
### videowiseVideoSwipe
Triggered when a user swipes a video.
* videoTitle
* videoId
* widgetId
* deviceType
* url
### videowisePlayerClose
Triggered when a user closes the player.
* videoTitle
* videoId
* widgetId
* deviceType
* url
### videowiseVideoSoundOn
Triggered when a user turns on the sound of the video.
* videoTitle
* videoId
* widgetId
* deviceType
* url
### videowiseVideoSoundOff
Triggered when a user turns off the sound of the video.
* videoTitle
* videoId
* widgetId
* deviceType
* url
### videowiseProductClick
Triggered when a user clicks on a shoppable product.
* productId
* productName
* videoTitle
* videoId
* widgetId
* deviceType
* url
### videowiseProductBuyNow
Triggered when a user clicks on the buy now button of a shoppable product.
* productId
* productName
* variantId
* qty
* price
* currencyCode
* videoTitle
* videoId
* widgetId
* deviceType
* url
### videowiseVideoBounce
Triggered when a user close/swipe the video without playing it, noted video played less than 3 seconds.
* videoTitle
* videoId
* widgetId
* deviceType
* url
### videowiseDataReady
Triggered when the widget has all the necessary data and is ready for rendering
* widgetIds
* deviceType
* url
### videowiseCampaignReady
Triggered after campaign rendered
* campaignId
* deviceType
* url
### videowiseCampaignCheckout
Triggered before redirecting the user to the Shopify checkout page
* campaignId
* deviceType
* url
* items \[array]
* productName
* productId
* qty
* price
* currencyCode
### videowiseCtaClick
Triggered when a user clicks on a call to action button.
* videoTitle
* videoId
* widgetId
* deviceType
* buttonClicked (text in the button)
* url
# Widget re-rendering
Source: https://docs.videowise.com/init
How to manually trigger the rendering of widgets.
### Rendering floating widgets (quizes, founder videos, etc)
This applies to all types of widgets that don't require a HTML container.
```js Floating widgets
initVideowise();
```
### Rendering inline widgets (stories, carousels, grids, etc)
This applies to all types of widgets that do require a HTML container.
#### Widgets on a product page
```js Inline widgets on product page
initVideowiseBulk({
shop: 'your-store.myshopify.com';
widgetIds: ['widget-id'];
productId: 'shopify product id';
device: 'DESKTOP' | 'MOBILE'; //optional
})
```
#### Widgets on a non-product page
```js Inline widgets on non-product page
initVideowiseBulk({
shop: 'your-store.myshopify.com';
widgetIds: ['widget-id'];
url: 'https://your-store.myshopify.com/your/url';
device: 'DESKTOP' | 'MOBILE'; //optional
})
```
# Installation
Source: https://docs.videowise.com/installation
Learn how to install the Videowise Widget on your site.
### Videowise Widget Code
Add the following script at the head on your site:
```html Code Block Example
```
For Shopify v2 users the script is added automatically using Videowise app.
# Live stream rendering
Source: https://docs.videowise.com/live-stream-rendering
How to manually trigger the live stream pop-up.
### Opening the live stream player with Videowise's global helper function
Videowise provides a helper function, available in the global window object, that allows the opening of the live stream player from any page on your website.
The function can be attached to onClick events and receives a single parameter, the live stream ID, which can be copied from the Videowise application.
```js Launch live stream
window.videowiseLaunchLive("live-stream-id-here");
```
### Auto-launching the live stream player via URL parameter
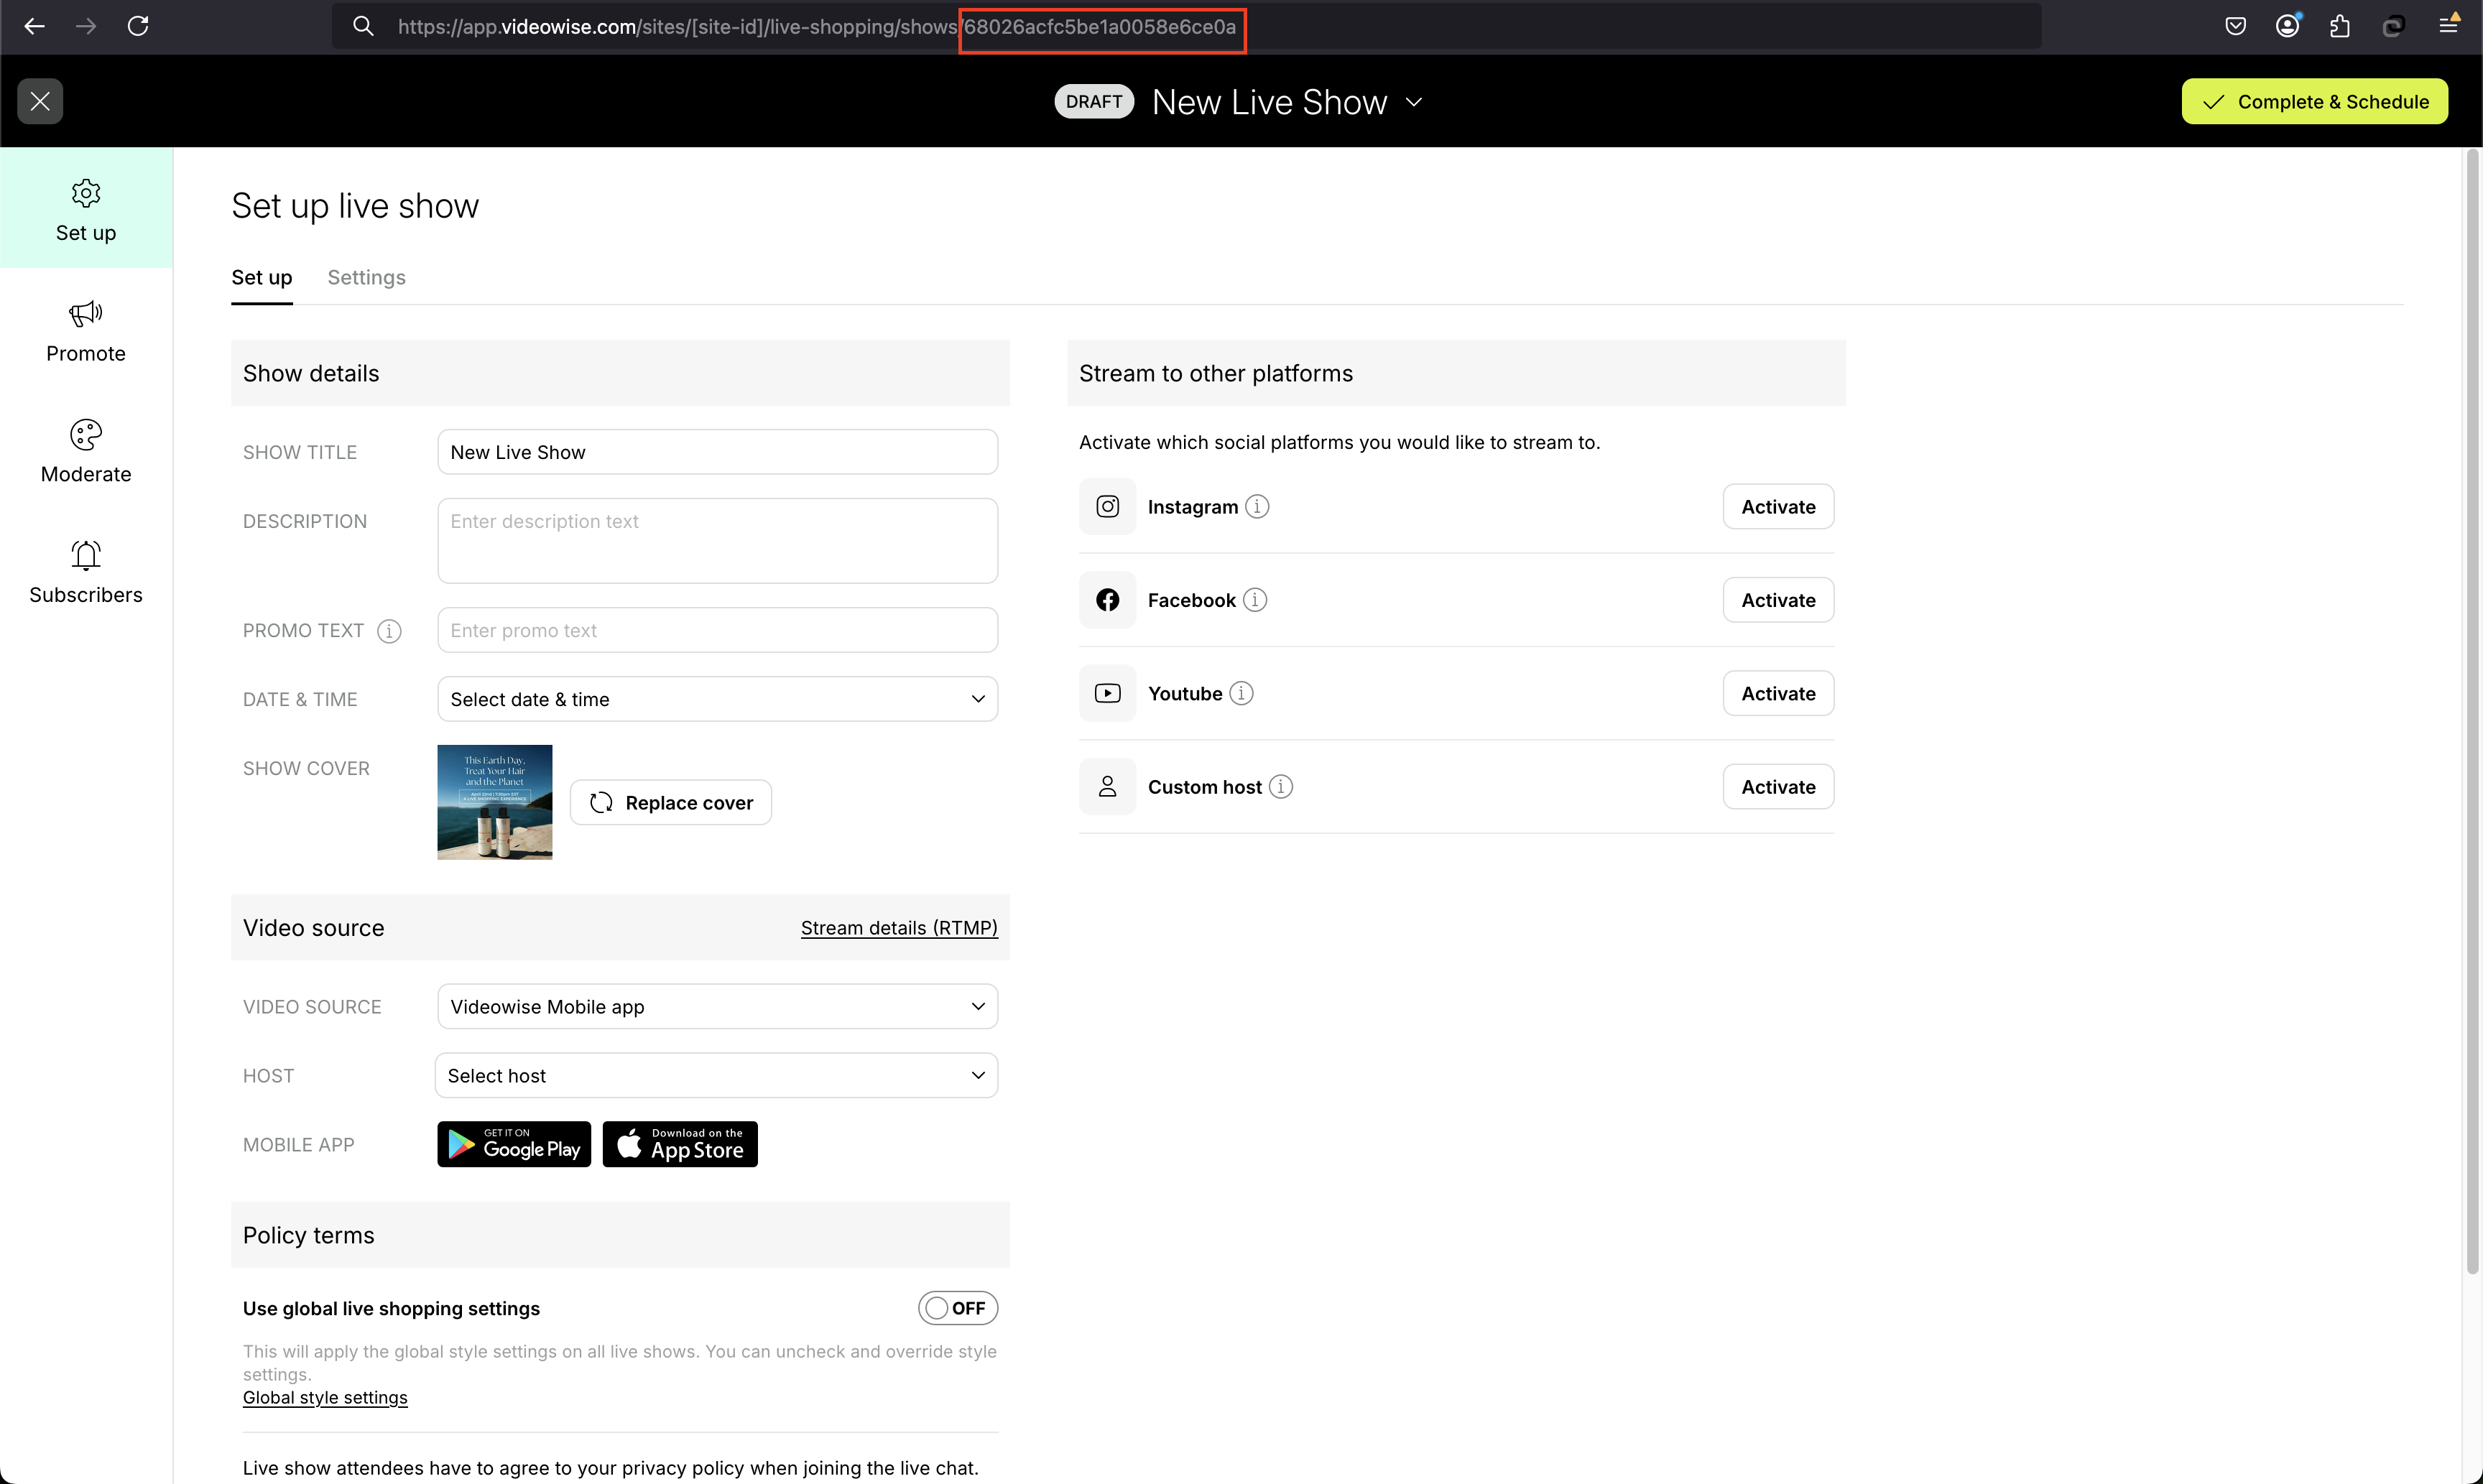
You can now automatically open the Videowise live stream player using the `vwLsId` query parameter. When this parameter is present in the page URL and contains a valid live stream ID, the player will launch automatically without requiring any user interaction. This makes it easy to share direct links that trigger live playback on load.
```js Auto-launching
https://example.com/?vwLsId=68026acfc5be1a0058e6ce0a
```
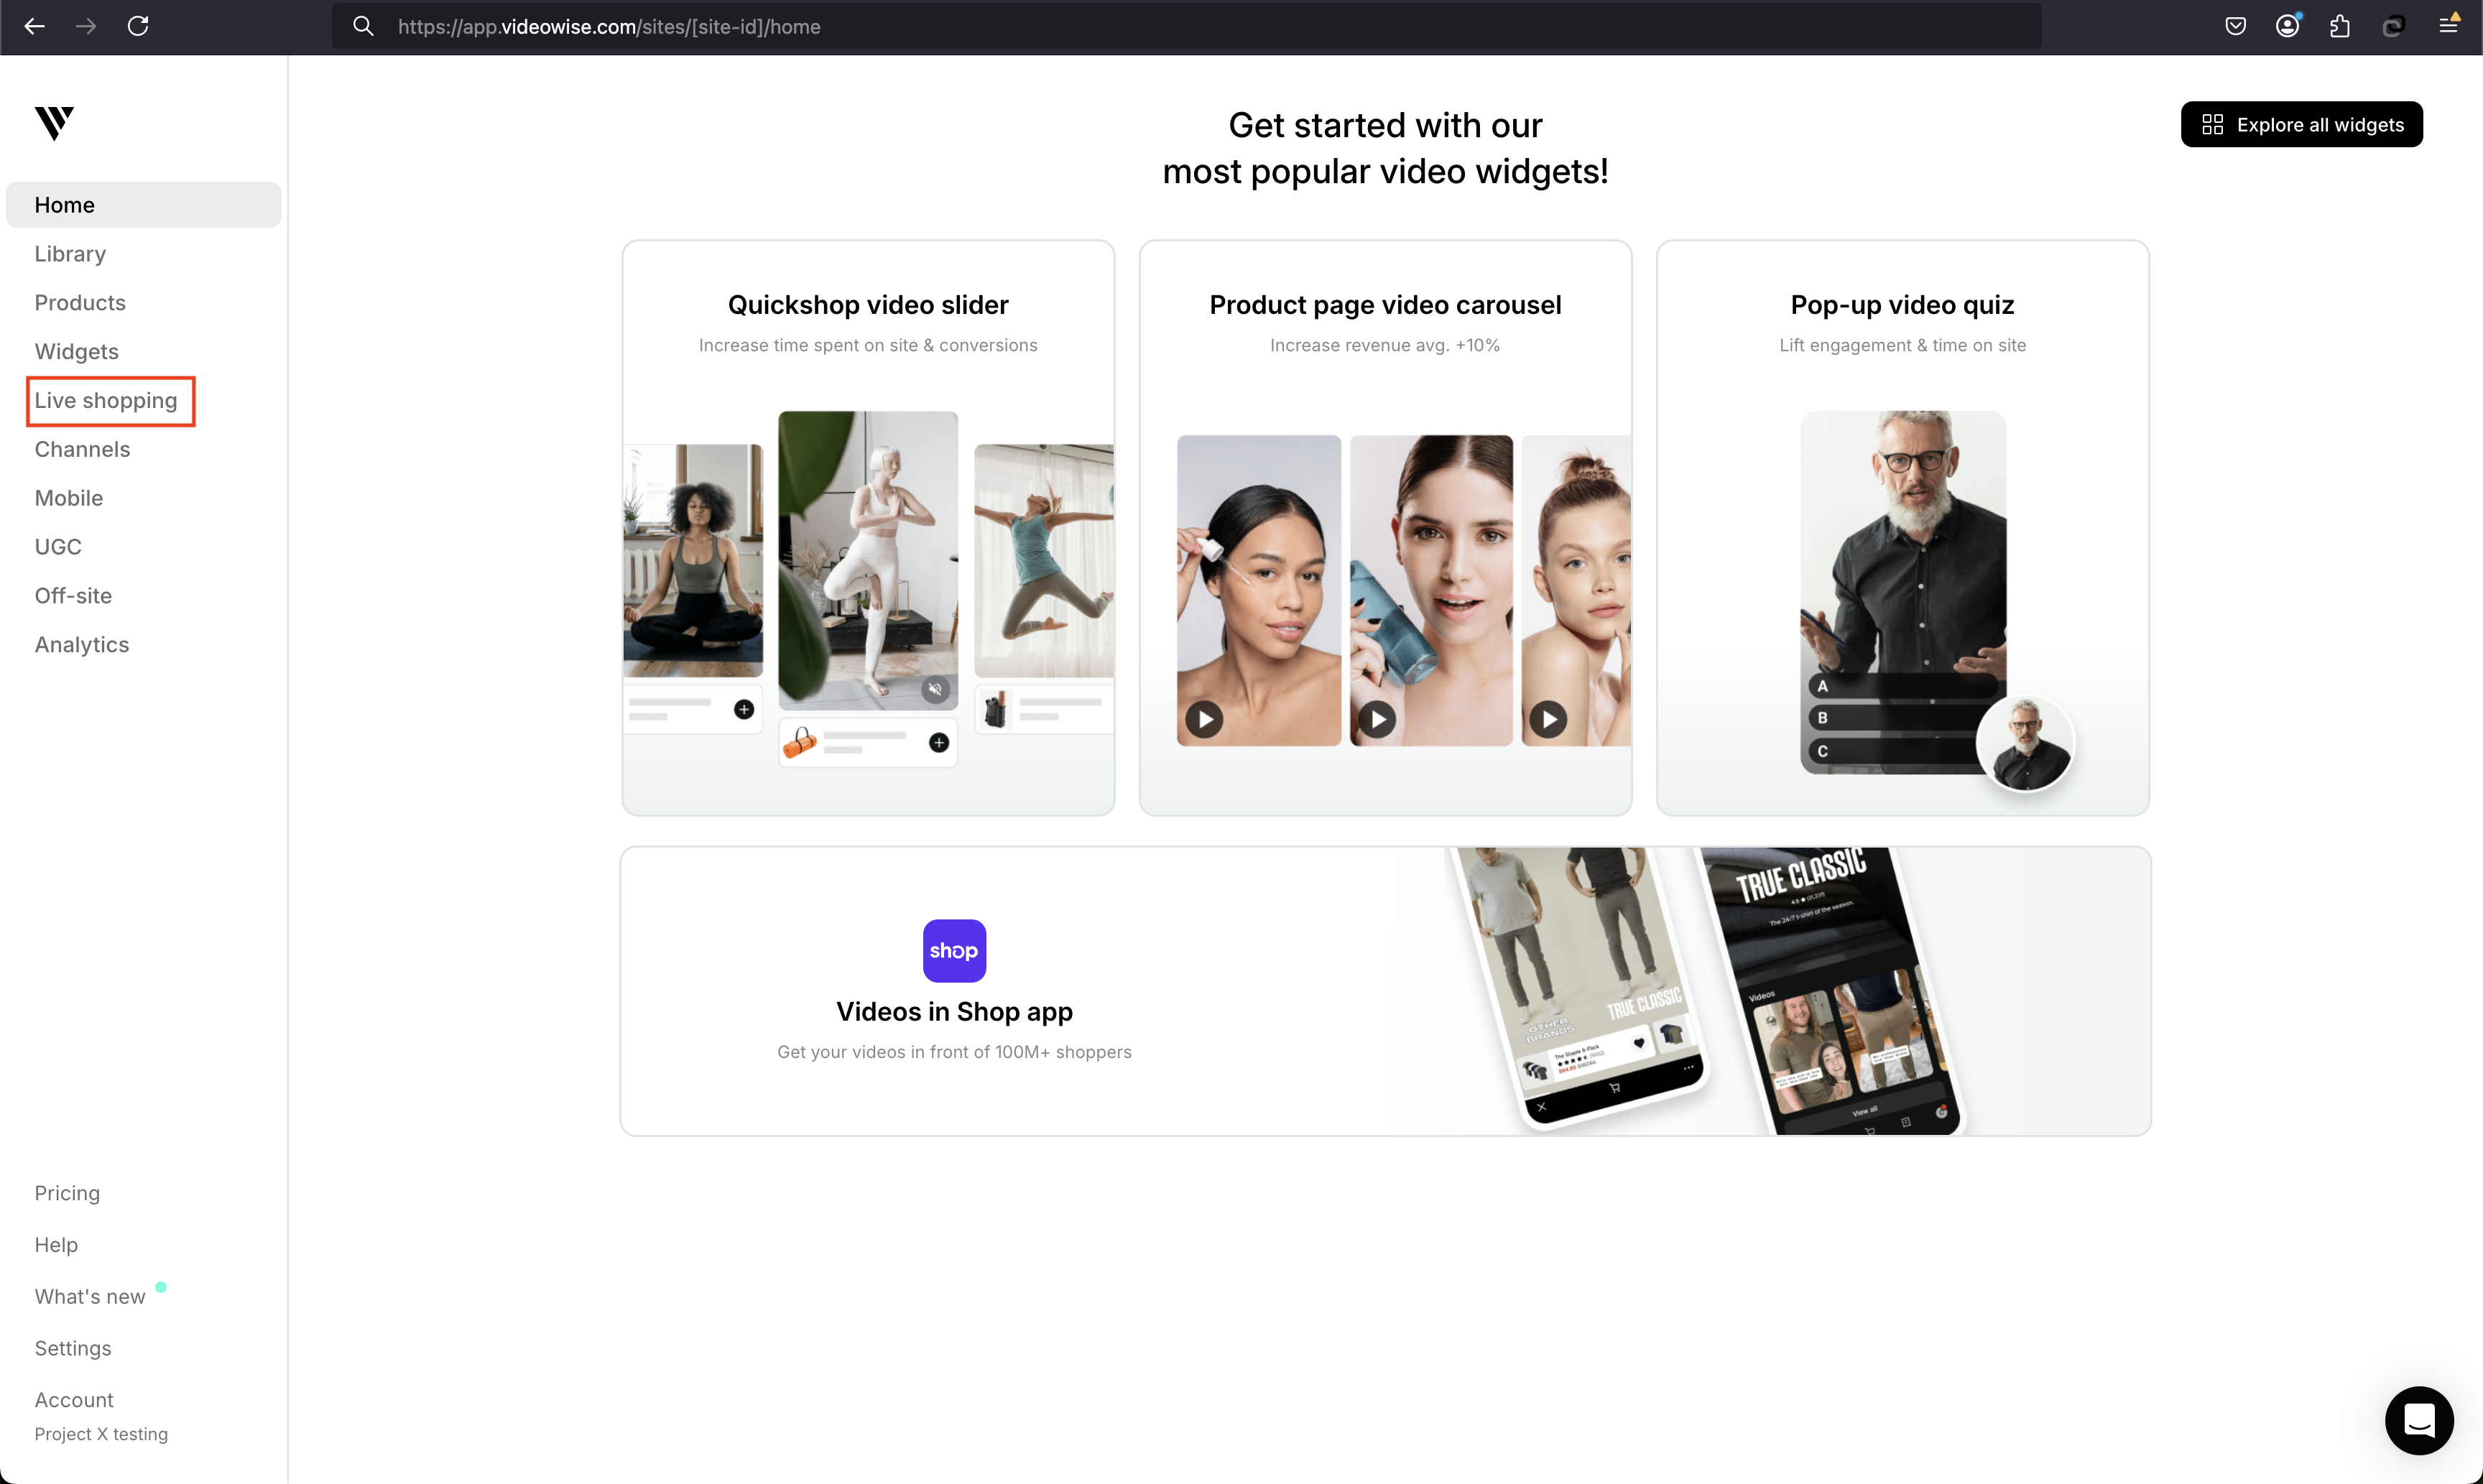
#### 1. Go to live shopping
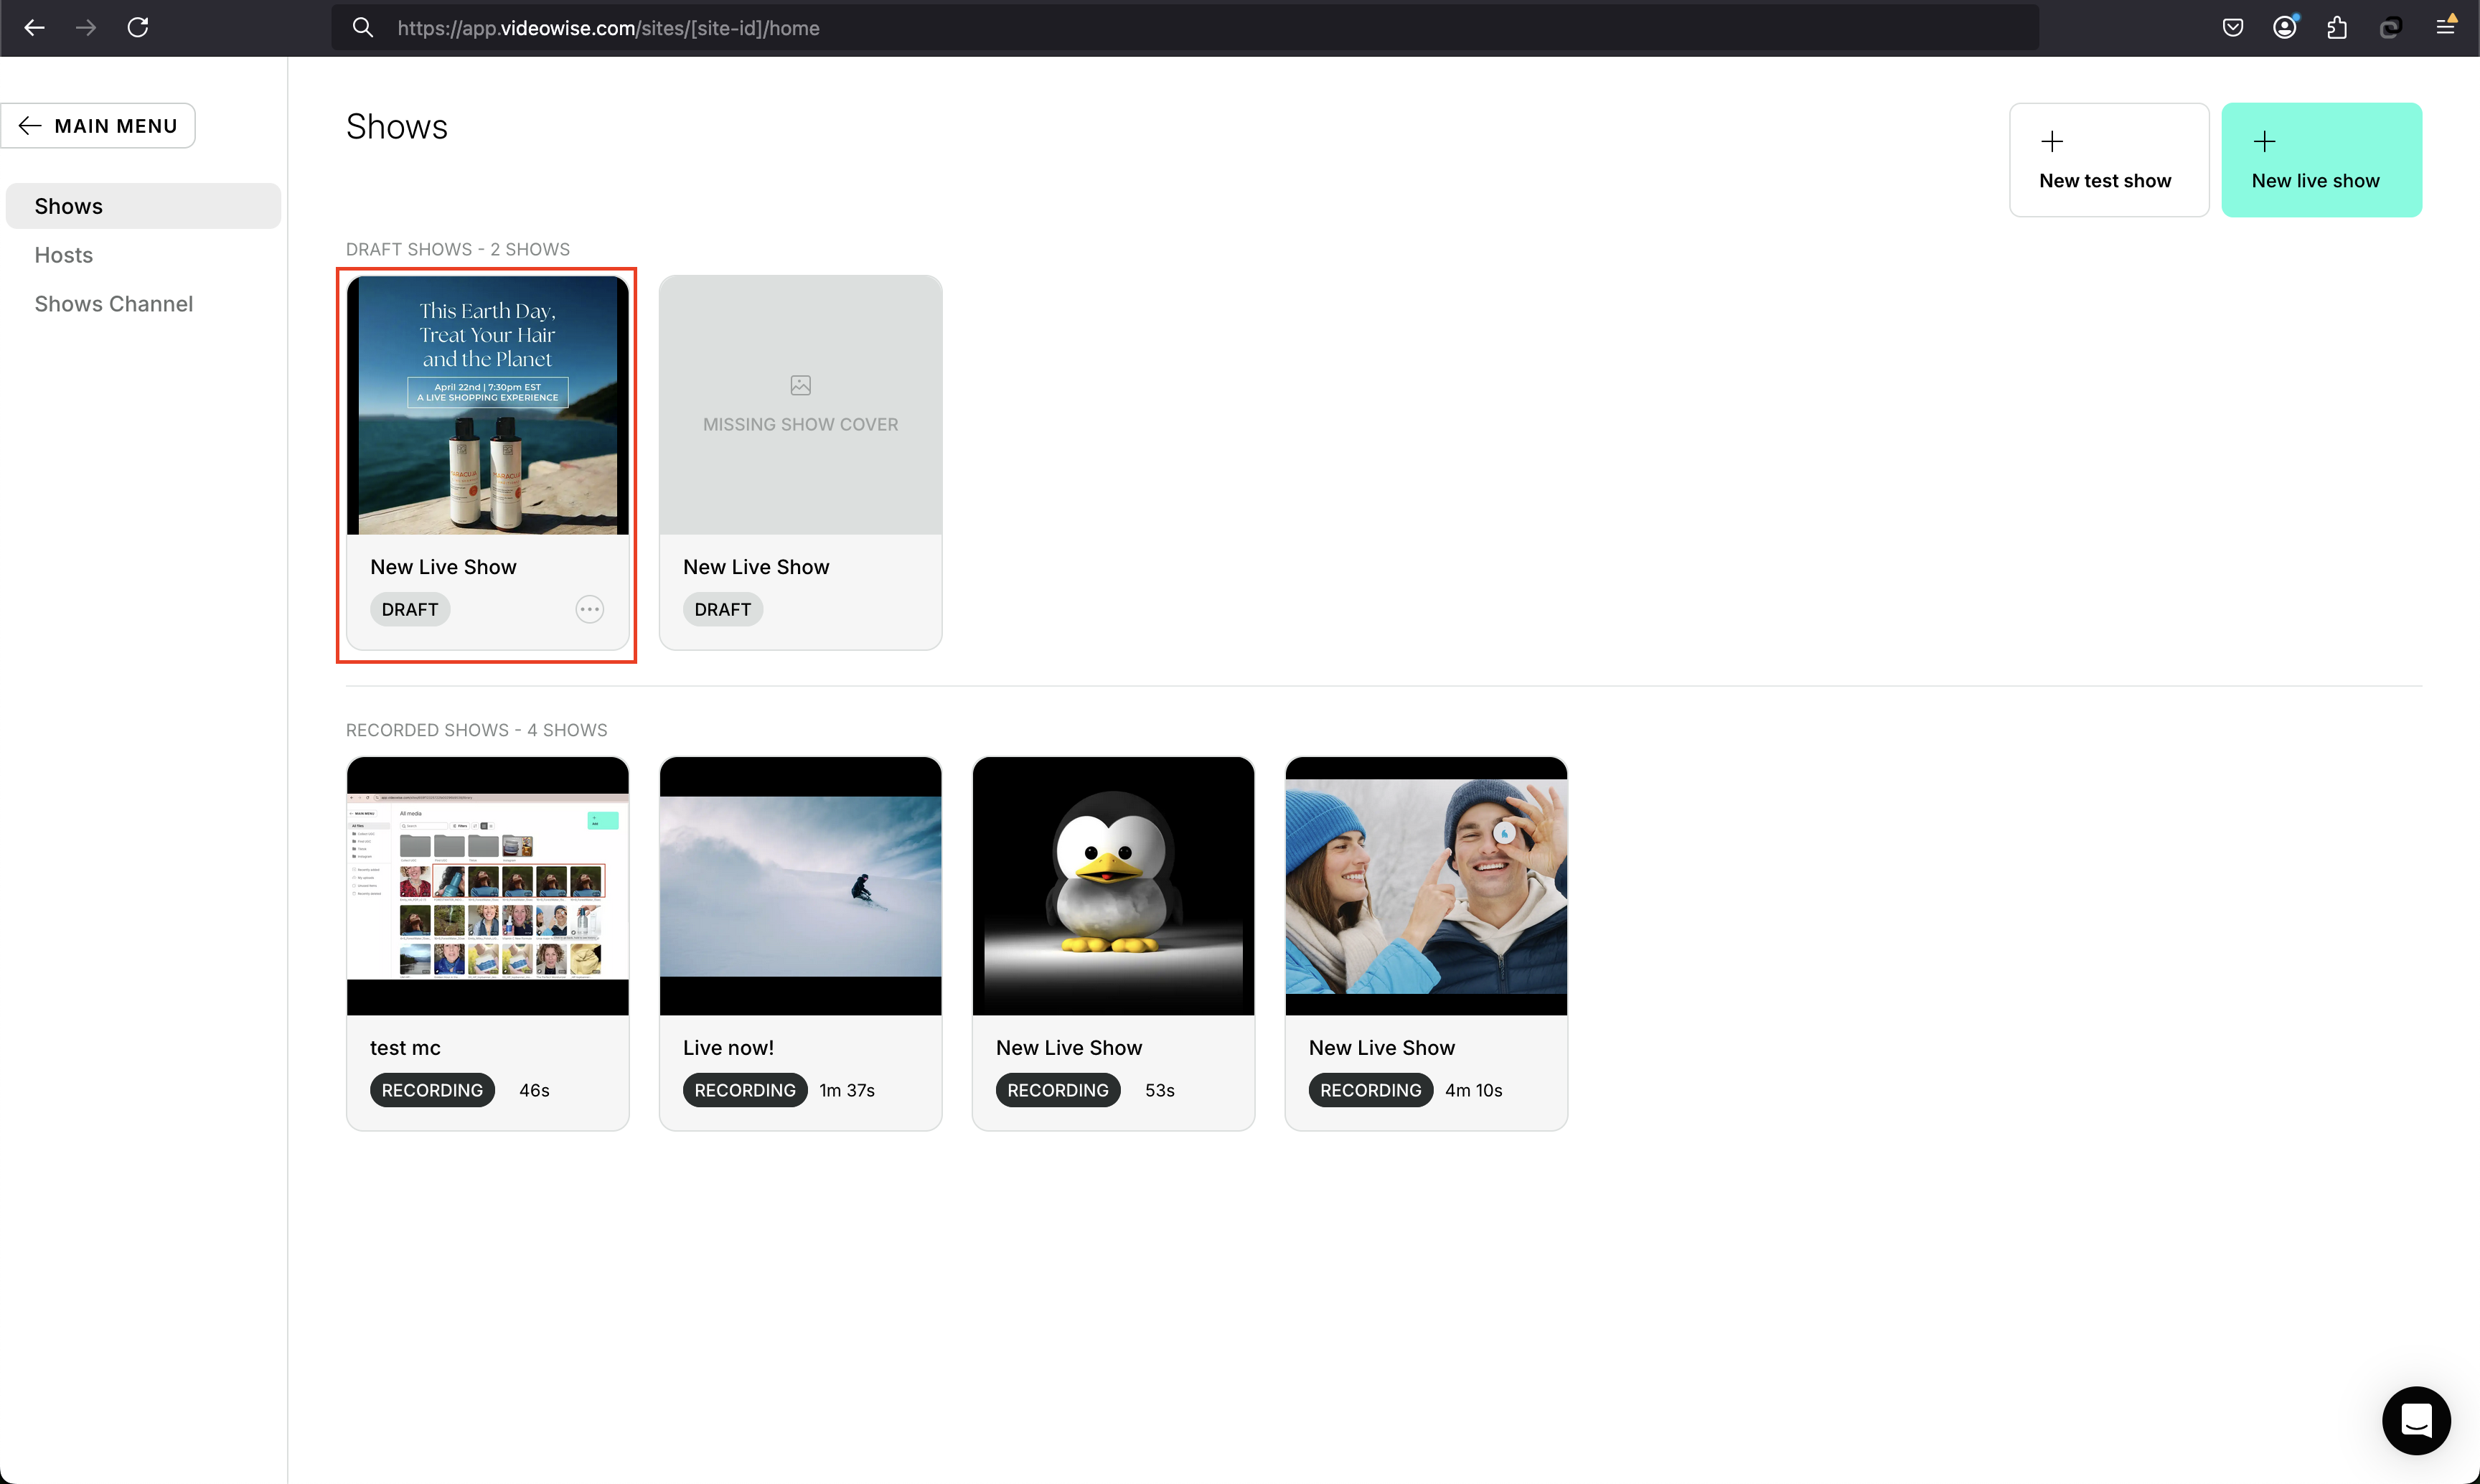
#### 2. Open the live show
#### 3. Copy the ID from the URL
# Shopify
Source: https://docs.videowise.com/pixel
Learn how to install the Videowise Widget on your site.
### Customer Events Pixel Code
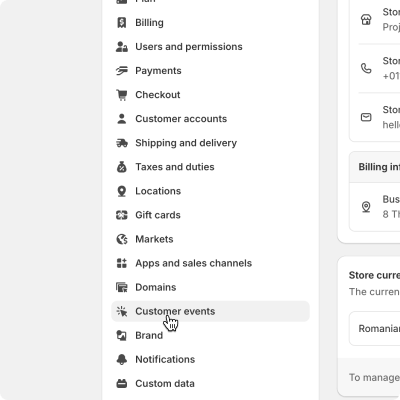
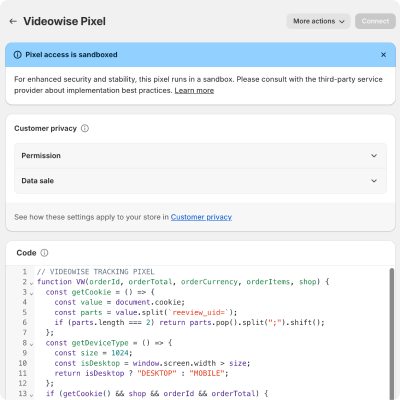
If your Shopify version supports web pixels go to "Settings -> Customer events" and click the "Add custom pixel". Give the new pixel a name like "Videowise Pixel" and add the following pixel code:
```js Customer Events Pixel Code
// VIDEOWISE TRACKING PIXEL
const PIXEL_VERSION = "1.7";
const UID_COOKIE_NAME = "reeview_uid";
const CAMPAIGN_COOKIE_NAME = "reeview_campaign";
const LS_COOKIE_NAME = "reeview_lsid";
const REFERRAL_COOKIE_NAME = "reeview_referral";
const WIDGET_EXPERIMENT_COOKIE_NAME = "REEVIEW_SESSION";
function setSessionCookie(name, value) {
document.cookie = `${name}=${value}; path=/`;
}
function getCookie(name) {
let cookieArr = document.cookie.split(";");
for (let i = 0; i < cookieArr.length; i++) {
let cookiePair = cookieArr[i].split("=");
if (name === cookiePair[0].trim()) {
return decodeURIComponent(cookiePair[1]);
}
}
return null;
}
function deleteCookie(name) {
document.cookie = name + "=; expires=Thu, 01 Jan 1970 00:00:00 UTC; path=/;";
}
function objectToQueryString(obj) {
let result = "";
const keys = Object.keys(obj);
for (let i = 0; i < keys.length; i++) {
const key = keys[i];
result += `${key}=${obj[key]}`;
if (i < keys.length - 1) {
result += "&";
}
}
return result;
}
const getDeviceType = () => {
const size = 1024;
const isDesktop = window.screen.width > size;
return isDesktop ? "DESKTOP" : "MOBILE";
};
function VW(orderId, orderTotal, orderCurrency, orderItems, shop) {
if (getCookie(UID_COOKIE_NAME) && shop && orderId && orderTotal) {
const params = {
uid: getCookie(UID_COOKIE_NAME),
deviceType: getDeviceType(),
orderId,
shop,
checkout_type: "SHOPIFY",
order_total: orderTotal,
currency: orderCurrency,
order_items: orderItems,
campaignId: getCookie(CAMPAIGN_COOKIE_NAME),
lsId: getCookie(LS_COOKIE_NAME),
clientTs: new Date().toISOString(),
experiment: getCookie(WIDGET_EXPERIMENT_COOKIE_NAME),
referral: getCookie(REFERRAL_COOKIE_NAME),
};
const trackingUrl = `https://api.videowise.com/tracking/pixel?${objectToQueryString(
params
)}`;
fetch(trackingUrl).then((res) => {
console.log(
`Videowise pixel -- order -- (version: ${PIXEL_VERSION}) executed correctly`
);
deleteCookie(CAMPAIGN_COOKIE_NAME);
});
}
}
analytics.subscribe("checkout_completed", (event) => {
const checkout = event.data.checkout;
VW(
checkout.order.id,
checkout.totalPrice.amount,
checkout.currencyCode,
checkout.lineItems.length,
event.context.window.location.host
);
});
analytics.subscribe("product_added_to_cart", (event) => {
const productRefId = event.data.cartLine.merchandise.product.id;
const shop = event.context.window.location.host;
const referral = getCookie(REFERRAL_COOKIE_NAME);
if (!referral) return; //
const params = {
uid: getCookie(UID_COOKIE_NAME),
deviceType: getDeviceType(),
shop,
campaignId: getCookie(CAMPAIGN_COOKIE_NAME),
lsId: getCookie(LS_COOKIE_NAME),
clientTs: new Date().toISOString(),
experiment: getCookie(WIDGET_EXPERIMENT_COOKIE_NAME),
referral: referral,
productRefId: productRefId,
};
const trackingUrl = `https://api.videowise.com/tracking/cart/pixel?${objectToQueryString(
params
)}`;
fetch(trackingUrl).then((res) => {
console.log(
`Videowise pixel -- cart -- (version: ${PIXEL_VERSION}) executed correctly`
);
});
});
analytics.subscribe("page_viewed", (event) => {
if (!event.context.window.location.search.includes("videowise_campaign_id")) {
console.log("Videowise no campaign cookie detected");
return;
}
const vars = new URLSearchParams(event.context.window.location.search);
const campaignId = vars.get("videowise_campaign_id");
if (campaignId) {
setSessionCookie(CAMPAIGN_COOKIE_NAME, campaignId);
}
});
```
You don't need to create a custom pixel if the Videowise Pixel was
automatically created and shows as "Connected"
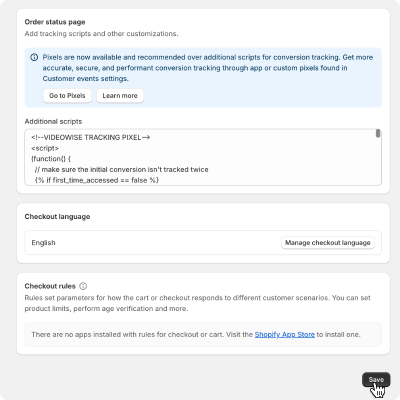
### Checkout Page Pixel Code
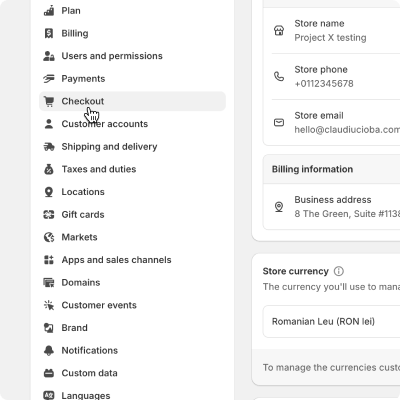
If your Shopify version does not support web pixels, you have to add the following code in the "Settings -> Checkout -> Order status page"
If your Shopify store uses a headless theme, you should execute the pixel code after the orderCreate mutation.
```js Order status / Headless implementation pixel code
```
Make sure that the variables needed for the pixel are set correctly, before
the function is invoked.
orderId (String): your order id
{" "}
orderTotal (Number): the total order amount, including taxes and shipping
(for Shopify stores, the order total should be divided by 100){" "}
orderCurrency (String): the order currency, 3 letters ISO code (USD,GBP,JPY,etc)
orderItems (Number): number of items in the order
shop (String): your shops domain (mystore.myshopify.com)
# Magento
Source: https://docs.videowise.com/pixel/magento
Learn how to install the Videowise Order Tracking Pixel on your Magento store.
# Pixel Integration for Magento
## Introduction
This document provides instructions on how to integrate Order Tracking Pixel with Magento.
Our Magento implementation includes the Order Tracking Pixel pre-installed on the default Thank you page.
If you are utilizing the default Thank you page, no further action is required.
## Prerequisites
* Magento 2.x installed
* Admin access to your Magento backend files
* Videowise Pixel Tracking activated from Videowise Application
## Integration Options
There are two options to integrate the Order Tracking Pixel on other pages in your Magento store:
### Option 1: Using Magento XML Frontend Extensions
You can add our already defined PHTML block to your preferred location using Magento XML frontend extensions. This method involves updating your layout XML file to include the tracking pixel block. Here is an example:
```xml
```
Replace `your-container-name` with the appropriate container name where you want the tracking pixel to be placed.
## Option 2: Adding Custom JavaScript Code
Alternatively, you can add custom JavaScript code to your preferred location after a successful order. You will need to complete the necessary fields in the script. Here is an example:
```JavaScript
```
Make sure to replace the placeholders (`{{ ... }}`) with the actual values from your Magento store.
All actual values can be retrieved manually with custom code or using our PHP public method `getOrderData` from `Videowise\VideowiseApp\Block\VideowiseTrackingPixel` which will return the following array:
```PHP
[
'orderId' => 123, // Last Order ID from User Session
'orderTotal' => 123, // Order Total
'orderCurrency' => 'USD', // Order Currency
'orderItemsTotal' => 2, // Number of Order Products
'storeId' => 1, // Order Store ID
]
```
## Conclusion
You have successfully integrated Pixel with your Magento store. For further customization and advanced features, refer to our [FAQ page](https://videowise.com/faq).
# Overview
Source: https://docs.videowise.com/pixel/overview
Overview
This page provides an overview of the Order Tracking Pixel for various e-commerce platforms. Click on the links below to learn more about the implementation for each platform.
* [Shopify](/pixel)
* [Magento](/pixel/magento)
* [SFCC](/pixel/sfcc)
# Salesforce Commerce Cloud
Source: https://docs.videowise.com/pixel/sfcc
Learn how to install the Videowise Order Tracking Pixel on your SFCC instance.
# Pixel Integration for SFCC
## Introduction
This document provides instructions on how to integrate Order Tracking Pixel with SFCC.
Our Salesforce Commerce Cloud implementation includes the Tracking Pixel pre-installed on the default Order Confirmation Page.
If you are utilizing the default Order Confirmation Page, no further action is required.
## Prerequisites
* Salesforce Commerce Cloud instance
* Admin access to your Salesforce Commerce Cloud instance
* Videowise Pixel Tracking activated from Videowise Application
* Videowise Cartridge in your Business Manager Cartridge path
## Integration Options
There are two options to integrate the Order Tracking Pixel on other pages on your SFCC instance:
### Option 1: Adding our pre-defined ISML code to your files
You can add our already pre-defined ISML code to your preferred location. This method involves updating your ISML file to include our code.
For example let's modify the `template/default/checkout/confirmation/confirmation.isml`:
`dw.order.Order` object must be present in the PipelineDictionary (pdict) as key `order`
1. You will need to add our `` to the top of the file right under your decorate template (``)
```HTML
Videowise SFCC
var shouldTrackPurchase = dw.system.Site.getCurrent().getCustomPreferenceValue('videoWiseEnabled');
var trackingAPIUrl = dw.system.Site.getCurrent().getCustomPreferenceValue('videowiseTrackingApiUrl');
if (shouldTrackPurchase) {
assets.addJs('/js/videowisePurchaseTracking.js');
}
```
2. Add our `` right before decorator ends
```HTML
```
Order Tracking Pixel should now be available after the next successful order.
## Option 2: Adding Custom JavaScript Code
Alternatively, you can add custom JavaScript code to your preferred location after a successful order. You will need to complete the necessary fields in the script. Here is an example:
```JavaScript
```
Make sure to replace the placeholders (`{{ ... }}`) with the actual values from your SFCC instance.
All actual values can be retrieved manually with custom code or using our Javascript Helper public method `getTrackingPixelData` from `cartridge/scripts/helpers/videoWiseHelpers.js` which will return the following object:
```JavaScript
{
grandTotal: 123, // Order Grand total
orderNumber: 'ODEV-123', // Order Number
productQuantityTotal: 5, // Order Total products quantity
currency: 'USD', // Order Currency Code
shop: 'https://instanceURL.com' // Order Instance URL
}
```
Order Tracking Pixel should now be available after the next successful order.
## Conclusion
You have successfully integrated Pixel with your SFCC instance. For further customization and advanced features, refer to our [FAQ page](https://videowise.com/faq).
# Authentication
Source: https://docs.videowise.com/product-api/authentication
Learn how to authenticate with the Product API.
All endpoints in the **Product API** require authentication via an access token, your site ID and your site type. This token must be included in the headers of every request.
***
## How to get your X-Videowise-Access-Token
## How to Authenticate
1. Obtain your access token from your Videowise account settings. Go to Settings -> Stores -> Click **View license key**
2. Obtain your siteId from Settings -> Stores -> Click **Edit** on your store and copy your siteId
3. Choose one of the site types which are **`Salesforce`** , **`Magento`** and **Custom**
4. Include the token in the `X-Videowise-Access-Token` header of your request.
5. Include `siteId` and `siteType` in your request body.
Example:
```plaintext
X-Videowise-Access-Token:
```
## Error Responses
If the token is missing or invalid, the API will return a **401 Unauthorized** error:
```JavaScript
{
"message": "Missing X-Videowise-Access-Token header"
}
```
If siteId or siteType is missing, the API will return a **400 Bad Request** with one of the following errors error:
```JavaScript
{
"message": "Missing siteId in request body"
}
```
```JavaScript
{
"message": "Missing siteType in request body"
}
```
# Endpoints
Source: https://docs.videowise.com/product-api/endpoints
This API handles operations related to importing, retrieving, and deleting products in bulk or individually.
## Base URL
`https://api.videowise.com`
***
### Bulk Product Import
#### **POST** `/external/product/v1/bulk`
Imports or modifies list of products into the system.
#### Headers
| Key | Type | Required | Description |
| -------------------------- | ------ | -------- | -------------------------------------- |
| `X-Videowise-Access-Token` | String | Yes | Access token to authorize the request. |
#### Request Body
* **siteId** (string, required): The site ID to associate with the products.
* **siteType** (string, required): The type of site to associate with the products.
* **products** (array of **Product Object**, required): List of products to be imported.
**Product Object**:
| Field | Type | Required | Description |
| ---------------- | --------- | -------- | ------------------------------------- |
| `id` | String | Yes | The unique identifier of the product. |
| `sku` | String | Yes | The SKU of the product. |
| `title` | String | Yes | The name of the product. |
| `description` | String | No | The description of the product. |
| `price` | Number | No | The price of the product. |
| `price_min` | Number | No | The minimum price of the product. |
| `price_max` | Number | No | The maximum price of the product. |
| `available` | Boolean | Yes | Whether the product is available. |
| `images` | \[String] | No | List of image URLs for the product. |
| `featured_image` | String | Yes | The image URL of the product. |
| `url` | String | Yes | The URL of the product. |
#### Example Request
```json
{
"siteId": "YourSiteID",
"siteType": "Salesforce",
"products": [
{
"id": "008884303989",
"sku": "008884303989",
"title": "Platinum Blue Stripes Easy Care Fitted Shirt",
"description": "An elegant fitted shirt with blue stripes.",
"price": 35,
"price_min": 35,
"price_max": 35,
"available": true,
"images": ["https://example.com/image1.jpg"],
"featured_image": "https://example.com/image1.jpg",
"url": "https://example.com/product1"
},
{
"id": "008884303990",
"sku": "008884303990",
"title": "Test Shirt",
"description": "A test product.",
"price": 60,
"available": true,
"featured_image": "https://example.com/image2.jpg",
"url": "https://example.com/product2"
}
]
}
```
#### Response
| Status | Description |
| ------ | ------------------------------- |
| `200` | Products imported successfully. |
| `400` | Bad request or site not found. |
| `401` | Unauthorized access. |
***
### Bulk Product Import CSV
#### **POST** `/external/product/v1/bulk/csv`
Imports or modifies list of products into the system.
#### Headers
| Key | Type | Required | Description |
| -------------------------- | ------ | -------- | -------------------------------------- |
| `X-Videowise-Access-Token` | String | Yes | Access token to authorize the request. |
#### Request Body
* **siteId** (string, required): The site ID to associate with the products.
* **siteType** (string, required): The type of site to associate with the products.
* **csvContent** (string, required): CSV Content.
**CSV Content**:
The CSV content should be formatted as follows:
* **First row**: Headers containing the field names (id, sku, title, description, price, price\_min, price\_max, available, images, featured\_image, url)
* **Following rows**: Product data corresponding to each **Product Object** field
**CSV Format**:
```
id,sku,title,description,price,price_min,price_max,available,images,featured_image,url
008884303989,008884303989,Platinum Blue Stripes Easy Care Fitted Shirt,An elegant fitted shirt with blue stripes,35,35,35,true,https://example.com/image1.jpg,https://example.com/image1.jpg,https://example.com/product1
008884303990,008884303990,Test Shirt,A test product.,60,60,60,true,["https://example.com/image1.jpg","https://example.com/image2.jpg"],https://example.com/image1.jpg,https://example.com/product2
```
**Field Requirements**: Same as the **Product Object** defined in the [Bulk Product Import](#bulk-product-import) section.
**Notes**:
* For single images use string format
* For multiple images, use JSON array format: `[\"url1\",\"url2\"]`
* Boolean values should be `true` or `false`
* Ensure proper CSV escaping for fields containing commas or quotes
#### Example Request
```json
{
"siteId": "YourSiteID",
"siteType": "Salesforce",
"csvContent": "id,sku,title,description,price,price_min,price_max,available,images,featured_image,url\n008884303989,008884303989,Platinum Blue Stripes Easy Care Fitted Shirt,An elegant fitted shirt with blue stripes,35,35,35,true,https://example.com/image1.jpg,https://example.com/image1.jpg,https://example.com/product1\n008884303990,008884303990,Test Shirt,A test product.,60,60,60,true,[\"https://example.com/image1.jpg\",\"https://example.com/image2.jpg\"],https://example.com/image1.jpg,https://example.com/product2"
}
```
#### Response
| Status | Description |
| ------ | ------------------------------- |
| `200` | Products imported successfully. |
| `400` | Bad request or site not found. |
| `401` | Unauthorized access. |
***
### Single Product Import
#### **POST** `/external/product/v1`
Imports or modifies single product into the system.
#### Headers
| Key | Type | Required | Description |
| -------------------------- | ------ | -------- | -------------------------------------- |
| `X-Videowise-Access-Token` | String | Yes | Access token to authorize the request. |
#### Request Body
* **siteId** (string, required): The site ID to associate with the product.
* **siteType** (string, required): The type of site to associate with the product.
* **product** (**Product Object**, required): The product to be imported.
**Product Object**: Same as defined in the [Bulk Product Import](#bulk-product-import) section.
#### Example Request
```json
{
"siteId": "YourSiteID",
"siteType": "Magento",
"product": {
"id": "008884303989",
"sku": "008884303989",
"title": "Platinum Blue Stripes Easy Care Fitted Shirt",
"description": "An elegant fitted shirt with blue stripes.",
"price": 35,
"price_min": 35,
"price_max": 35,
"available": true,
"images": ["https://example.com/image1.jpg"],
"featured_image": "https://example.com/image1.jpg",
"url": "https://example.com/product1"
}
}
```
#### Response
| Status | Description |
| ------ | ------------------------------ |
| `200` | Product imported successfully. |
| `400` | Bad request or site not found. |
| `401` | Unauthorized access. |
***
### Retrieve Product
#### **GET** `/external/product/v1/:productId`
Retrieves a product by its reference ID or SKU.
#### Headers
| Key | Type | Required | Description |
| -------------------------- | ------ | -------- | -------------------------------------- |
| `X-Videowise-Access-Token` | String | Yes | Access token to authorize the request. |
#### Query Parameters
| Parameter | Type | Required | Description |
| ---------- | ------ | -------- | ---------------------------- |
| `siteId` | String | Yes | The site ID to search for. |
| `siteType` | String | Yes | The site type to search for. |
#### Example Request
```bash
GET /product/008884303989?siteId=YourSiteID&siteType=Salesforce
```
#### Response
| Field | Type | Description |
| ---------------- | ------ | ------------------------------------- |
| `id` | String | The unique identifier of the product. |
| `sku` | String | The SKU of the product. |
| `title` | String | The name of the product. |
| `featured_image` | String | The image URL of the product. |
| `url` | String | The URL of the product. |
```json
{
"id": "008884303989",
"sku": "008884303989",
"title": "Platinum Blue Stripes Easy Care Fitted Shirt",
"featured_image": "https://example.com/image1.jpg",
"url": "https://example.com/product1"
}
```
| Status | Description |
| ------ | --------------------------------- |
| `200` | Product retrieved successfully. |
| `400` | Bad request or product not found. |
| `401` | Unauthorized access. |
***
### Delete Product
#### **DELETE** `/external/product/v1/:productId`
Deletes a product by its reference ID or SKU.
#### Headers
| Key | Type | Required | Description |
| -------------------------- | ------ | -------- | -------------------------------------- |
| `X-Videowise-Access-Token` | String | Yes | Access token to authorize the request. |
#### Query Parameters
| Parameter | Type | Required | Description |
| ---------- | ------ | -------- | ---------------------------- |
| `siteId` | String | Yes | The site ID to search for. |
| `siteType` | String | Yes | The site type to search for. |
#### Example Request
```bash
DELETE /product/008884303989?siteId=YourSiteID&siteType=Salesforce
```
#### Response
| Field | Type | Description |
| --------- | ------ | --------------------------------- |
| `message` | String | Confirmation of product deletion. |
```json
{
"message": "Product deleted successfully."
}
```
| Status | Description |
| ------ | -------------------------------------------- |
| `200` | Product deleted successfully. |
| `400` | Bad request or product could not be deleted. |
| `401` | Unauthorized access. |
***
## Error Codes
| Status | Description |
| ------ | ----------------------------------------------------------------------------- |
| `400` | Bad request. This occurs when required parameters or body fields are missing. |
| `401` | Unauthorized. Access token is missing or invalid. |
| `404` | Resource not found. Site or product does not exist. |
***
# Overview
Source: https://docs.videowise.com/product-api/overview
A high-level overview of the Product API.
The **Product API** allows you to interact with a system to import, retrieve, and delete products. It supports the following operations:
* **Bulk Import**: Import multiple products in a single request.
* **Single Import**: Import or modify single product.
* **Retrieve Product**: Fetch product details by reference ID or SKU.
* **Delete Product**: Delete a product by its reference ID or SKU.
***
## Key Features
* **Bulk Operations**: Efficiently import multiple products at once.
* **Flexible Product Data**: Supports optional fields like `price`, `price_min`, `price_max`, and `images`.
* **Secure Authentication**: Requires an access token for all requests.
***
## Base URL
All API requests are made to the following base URL:
## Limitations
* **Product Limit**: The API supports a maximum of 10000 products per request.
* **Rate Limit**: The API enforces a rate limit of 100 requests per minute.
## Recommendations
* **Chunking**: Even if Product API supports a maximum of 10000 products per request, it is recommended to send requests in smaller chunks to avoid timeouts.
* **Product Requests**: Use bulk operations for importing multiple products and avoid making multiple single import requests.
```plaintext
https://api.videowise.com
```
# Welcome
Source: https://docs.videowise.com/welcome
Use our documentation to seamlessly integrate with Videowise and unlock a world of possibilities.
Whether you want to create new interactive video experiences, upload and manage your video content effortlessly, or enhance your site's engagement and conversions, Videowise API has got you covered.
We're thrilled for you to harness the power of Videowise to innovate and elevate your app or service!
For detailed instructions on installation and interaction with our API, please refer to our comprehensive documentation available on our website.
Install Videowise easily with step-by-step instructions.
Extend app functionality with custom events for enhanced user interaction.
Easy setup instructions included.